How to update website settings?
GemCloud, a leading cloud-based platform, offers a user-friendly solution for managing and updating website settings. In this article, we'll provide you with a comprehensive guide on how to update website settings in GemCloud, empowering you to enhance your online presence effortlessly.
Step: 1
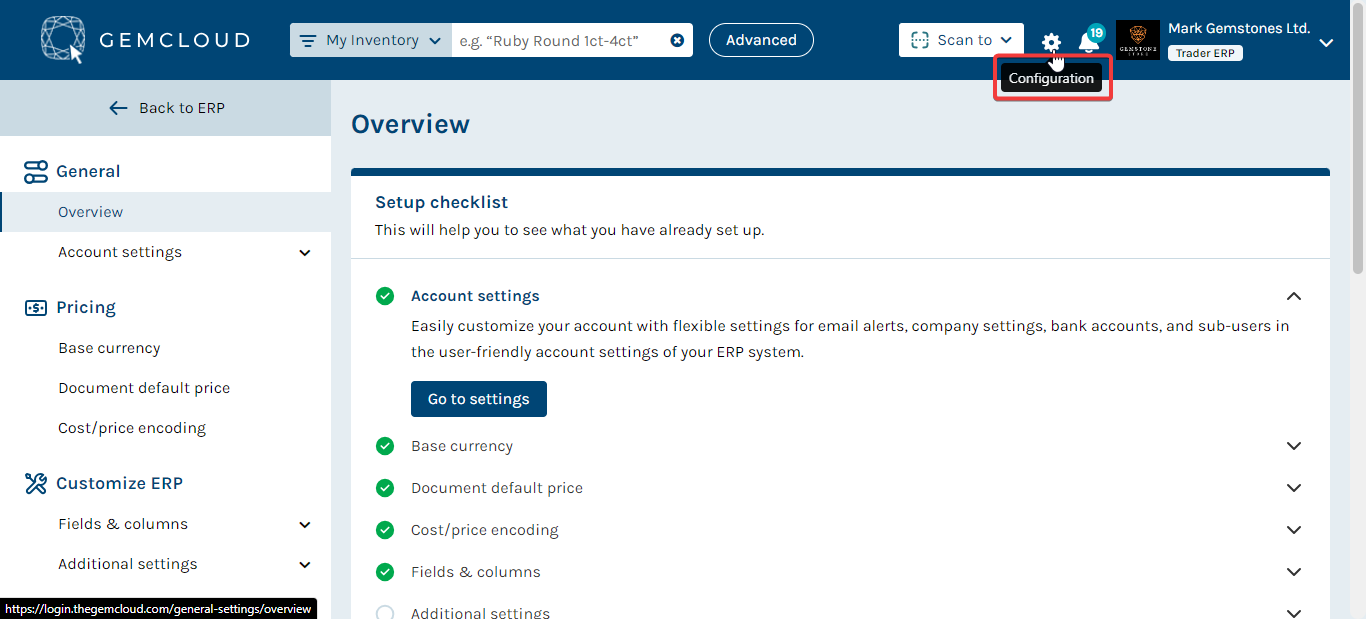
Go to the configuration section of GemCloud.

Step: 2
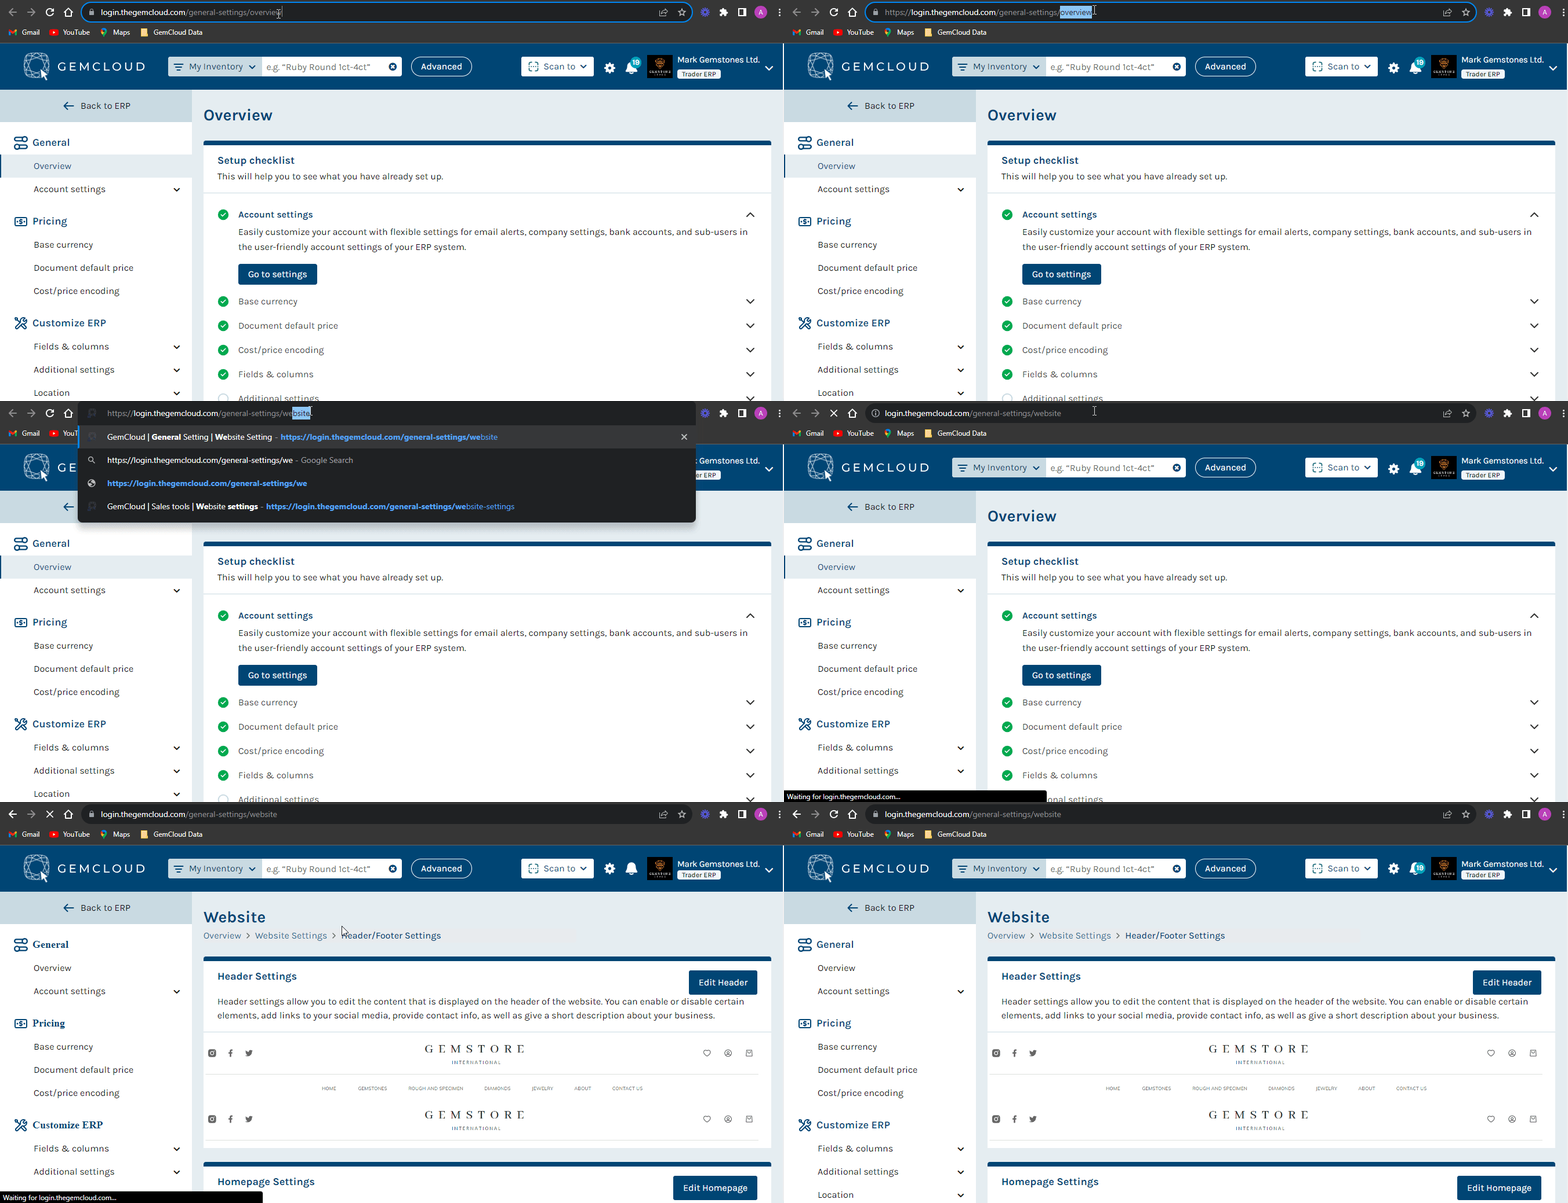
While configuration overview page is open, go to the URL on the top and instead of overview; type website there. It'll redirect you towards website setting page

While configuration overview page is open, go to the URL on the top and instead of overview; type website there. It'll redirect you towards website setting page
Step: 3
The website setting page will look like this
Step: 4
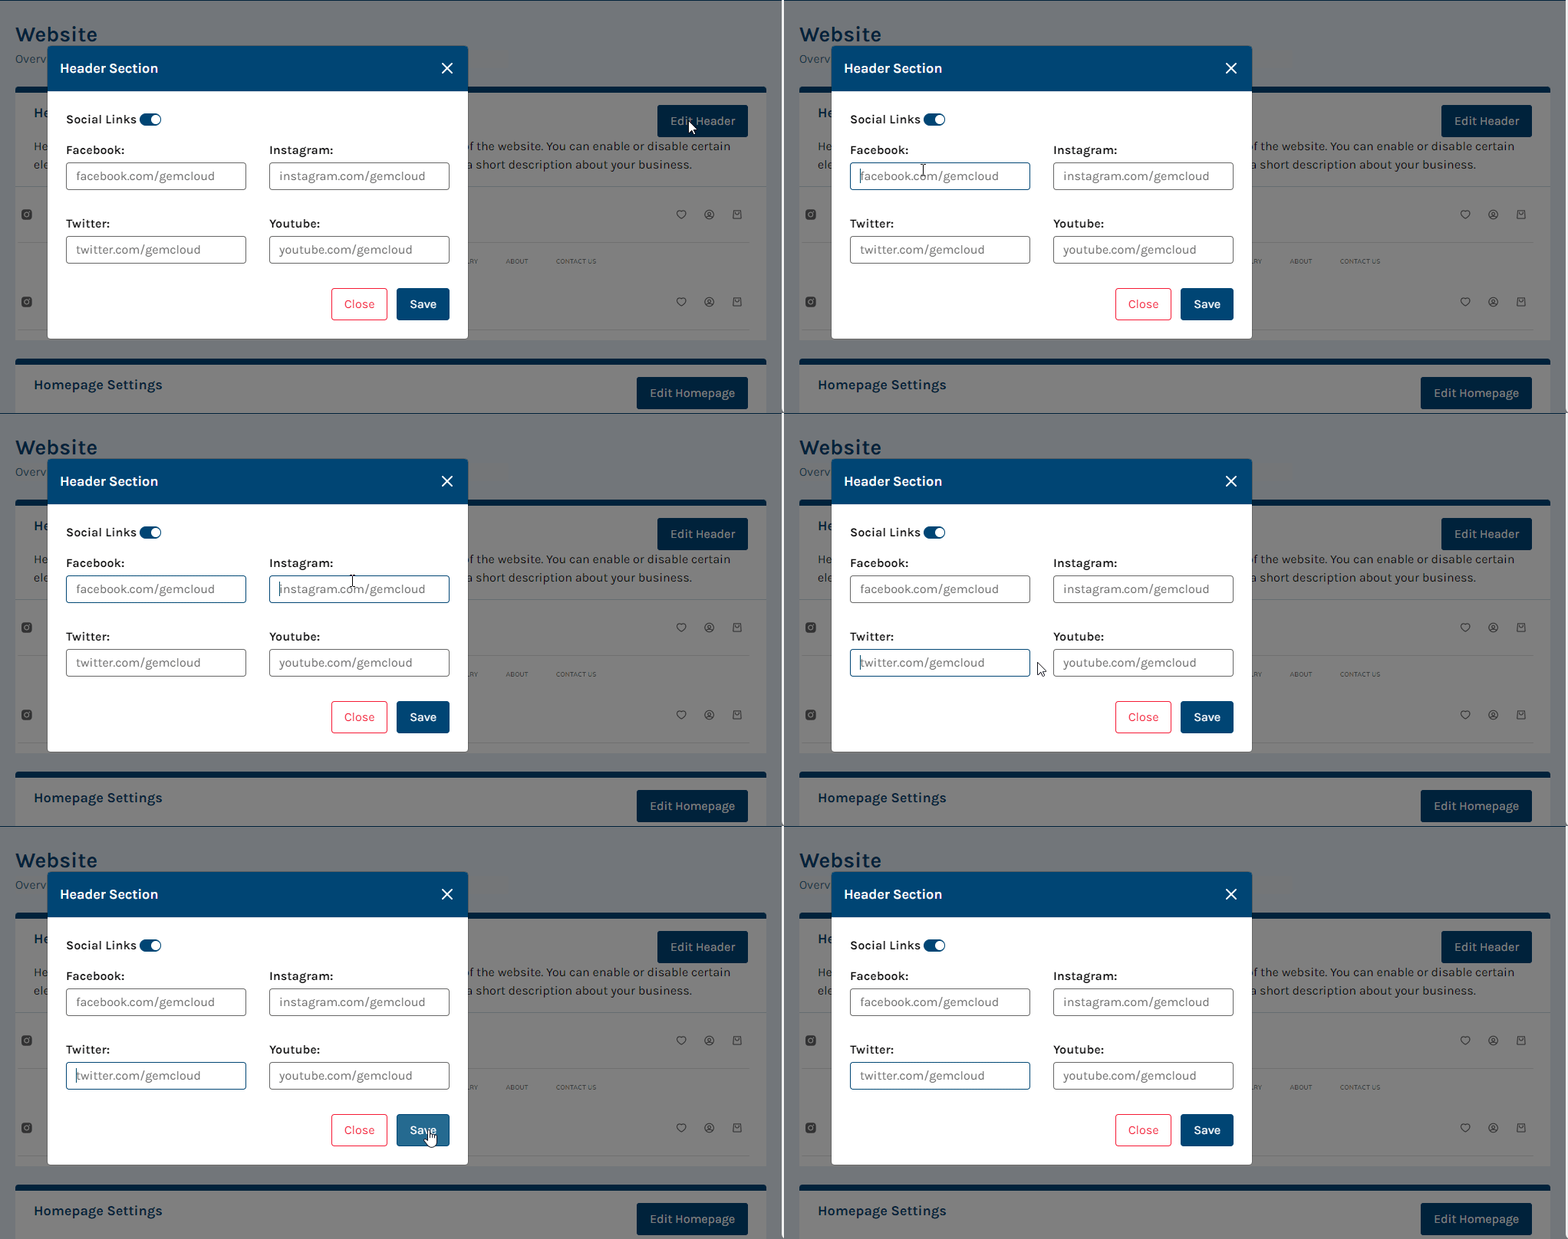
Click on Edit Header button and in this section you can add your social media links of Facebook, Twitter, Instagram and YouTube and then save them.

Click on Edit Header button and in this section you can add your social media links of Facebook, Twitter, Instagram and YouTube and then save them.
Step: 5
After scrolling down, you'll see Edit Homepage button so that you can setup your homepage. You've to add title, description and image and then click on save button.
After scrolling down, you'll see Edit Homepage button so that you can setup your homepage. You've to add title, description and image and then click on save button.
Step: 6
Next to Edit Homepage button there is Edit Section button. Click on that button and then first select your product category from categories dropdown section and then add photo of your selected category.
Next to Edit Homepage button there is Edit Section button. Click on that button and then first select your product category from categories dropdown section and then add photo of your selected category.
Step: 7
Then click on edit button and you can add new items there and save them. Moreover, there is Section visibility button on the top; if you want to hide this section on your website then click off this button.
Then click on edit button and you can add new items there and save them. Moreover, there is Section visibility button on the top; if you want to hide this section on your website then click off this button.
Step: 8
To edit contact us section click on Edit Section button and here you can add your title, description and image and then click on save
To edit contact us section click on Edit Section button and here you can add your title, description and image and then click on save
Step: 9
To edit sign us section click on Edit Section button and here you can add your title and description and then click on save
To edit sign us section click on Edit Section button and here you can add your title and description and then click on save
Step: 10
In last there is footer settings section. You need to click on Edit Footer button and then you can add description in about us, your contact details and social media links and then save them.
In last there is footer settings section. You need to click on Edit Footer button and then you can add description in about us, your contact details and social media links and then save them.
Conclusion:
Updating website settings in GemCloud is a straightforward process that empowers website owners to keep their online presence current and relevant.
Related Articles
How to update Document General Settings?
Step 1: Navigate to the top right and click the configuration button. Step 2: From the left under General settings, click on document fields. Step 3: Under the document general setting Fields, You can select any option of the price which ...How to add website payment method for GemCloud?
Introduction: GemCloud offers a seamless experience for managing your account and financial transactions. One essential aspect of this process is adding a payment method to ensure smooth transactions and uninterrupted services. In this article, we ...How to Set Up Document Default Price?
Setting up a default price for documents helps streamline your pricing process by automatically applying a consistent price to your memos and invoices. Here’s a step-by-step guide on how to set up a document default price: Step 1: Access ...How to Set Sticker/Print Label in GemCloud ERP?
Introduction: Managing inventory effectively is crucial for any business, especially in industries dealing with valuable items like gemstones. One of the useful features of the GemCloud ERP system is its customizable sticker settings, allowing you to ...How to Add Terms and Conditions in GemCloud?
Setting up Terms and Conditions in GemCloud is essential for ensuring that your documents are standardized and legally compliant. This guide will walk you through the steps to add Terms and Conditions to your documents. Step-by-Step Guide Step 1: ...